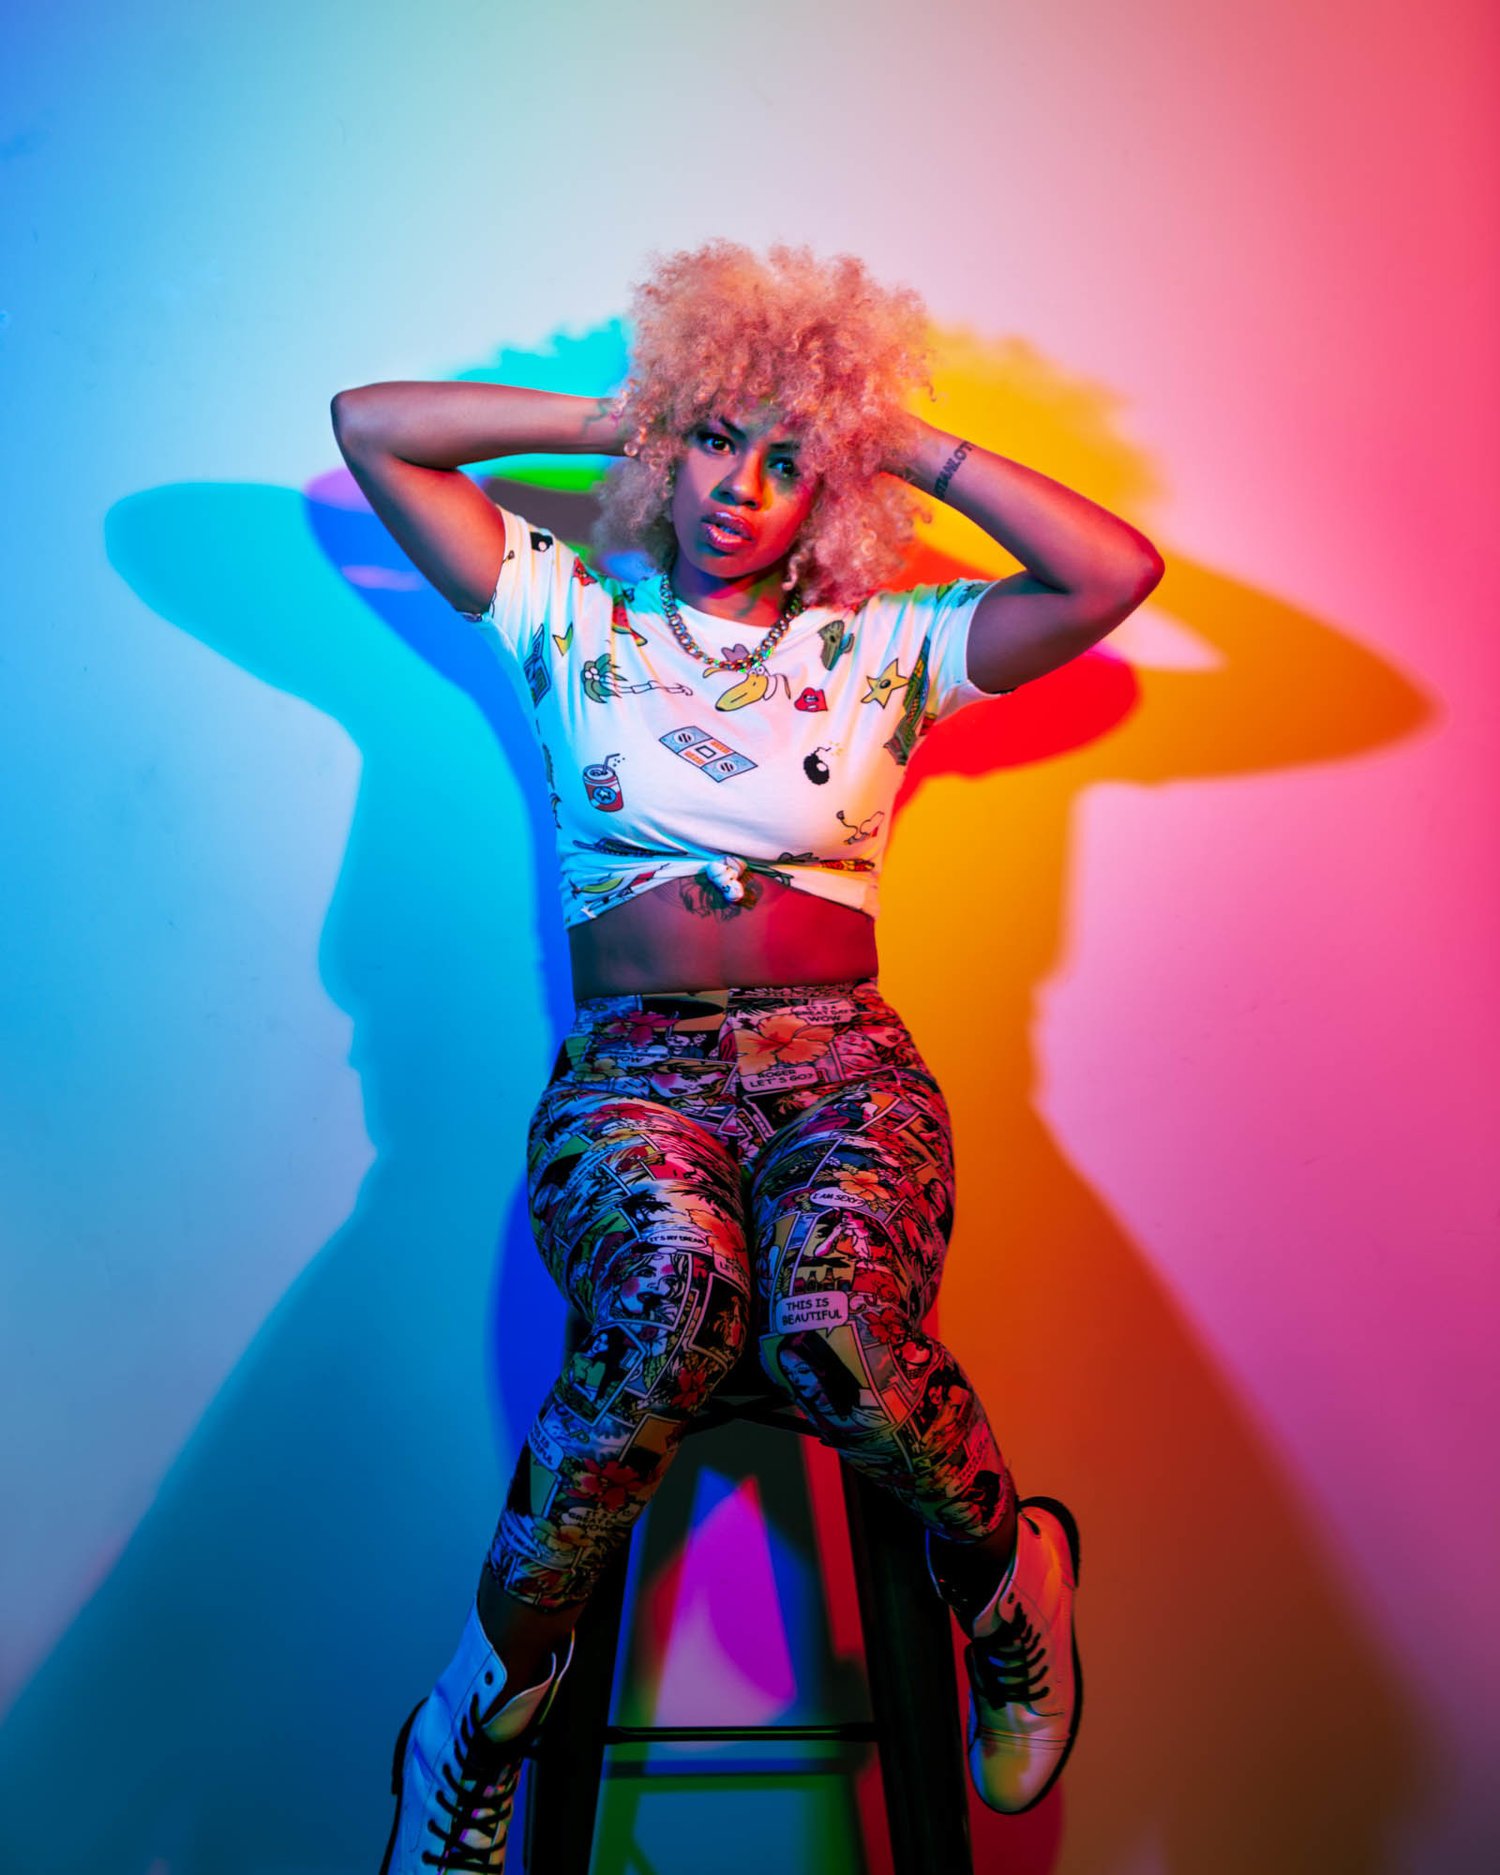
Harnessing the Power of Three-Colored Shadows in Photography
Discovering the Inspiration for Innovative Creation
Creativity is a journey that is often punctuated with the necessity to look beyond the conventional for sources of inspiration. While exploring the depths of the digital world on YouTube, I chanced upon a video that left me intrigued and fascinated. An artist had engineered a spectacle using the simplest of tools – a pencil. But the magic lay not in the pencil itself, but in the triad of colored shadows it cast on an unblemished white canvas. Was this a trick, some form of visual sleight of hand? As it turns out, the answer was rooted not in sorcery, but in science.
As a dedicated portrait and fashion photographer in the heart of Downtown Los Angeles, my mind began percolating with ideas. The interplay of shadows and light, of colors in this simple but striking arrangement held the potential for a fantastic series of images. Eager to explore further, I turned to Google, trawling through pages of search results to find if anyone else had experimented with this lighting setup. To my surprise, I came across nothing that closely resembled what I had in mind. It seemed I was on the cusp of creating something truly original.
Building Upon Years of Photographic Experience
My journey with photography began when I was just 14, and I’ve spent the subsequent 17 years honing my skills and evolving my understanding of this medium. At 19, I had the opportunity to broaden my horizons further when I enrolled at the prestigious Brooks Institute of Photography. This institution helped me delve deeper into the intricacies of studio photography, setting me on the path to become a professional photographer. The myriad experiences I've accumulated over the years gave me the confidence to explore this three-colored shadow setup further.
Unraveling the Science of Additive Color Mixing
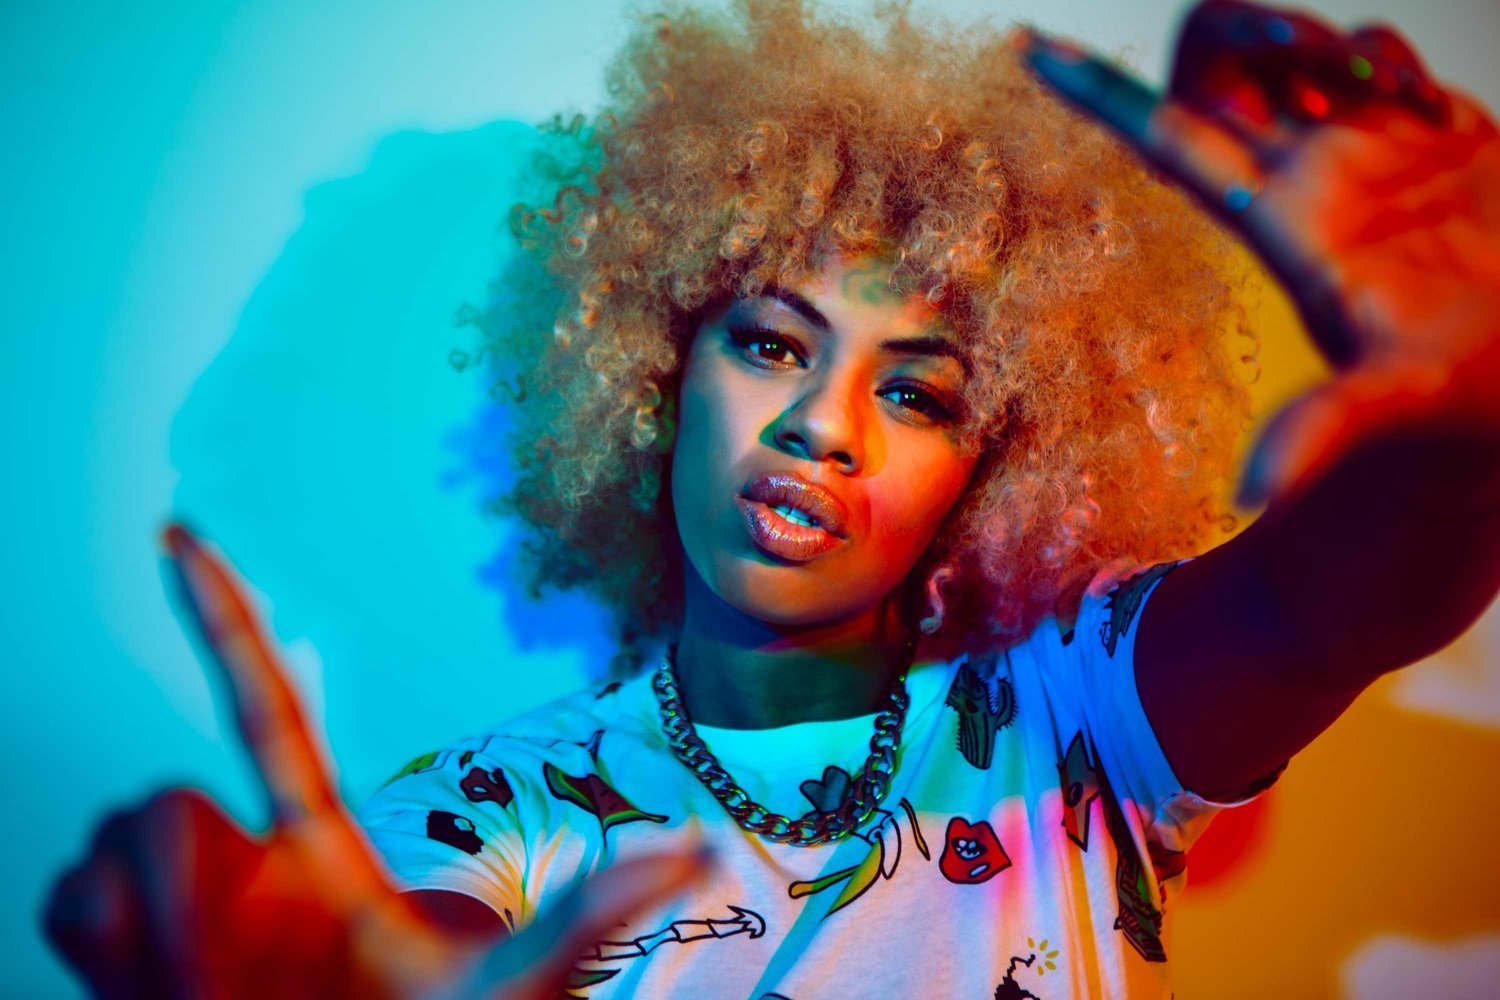
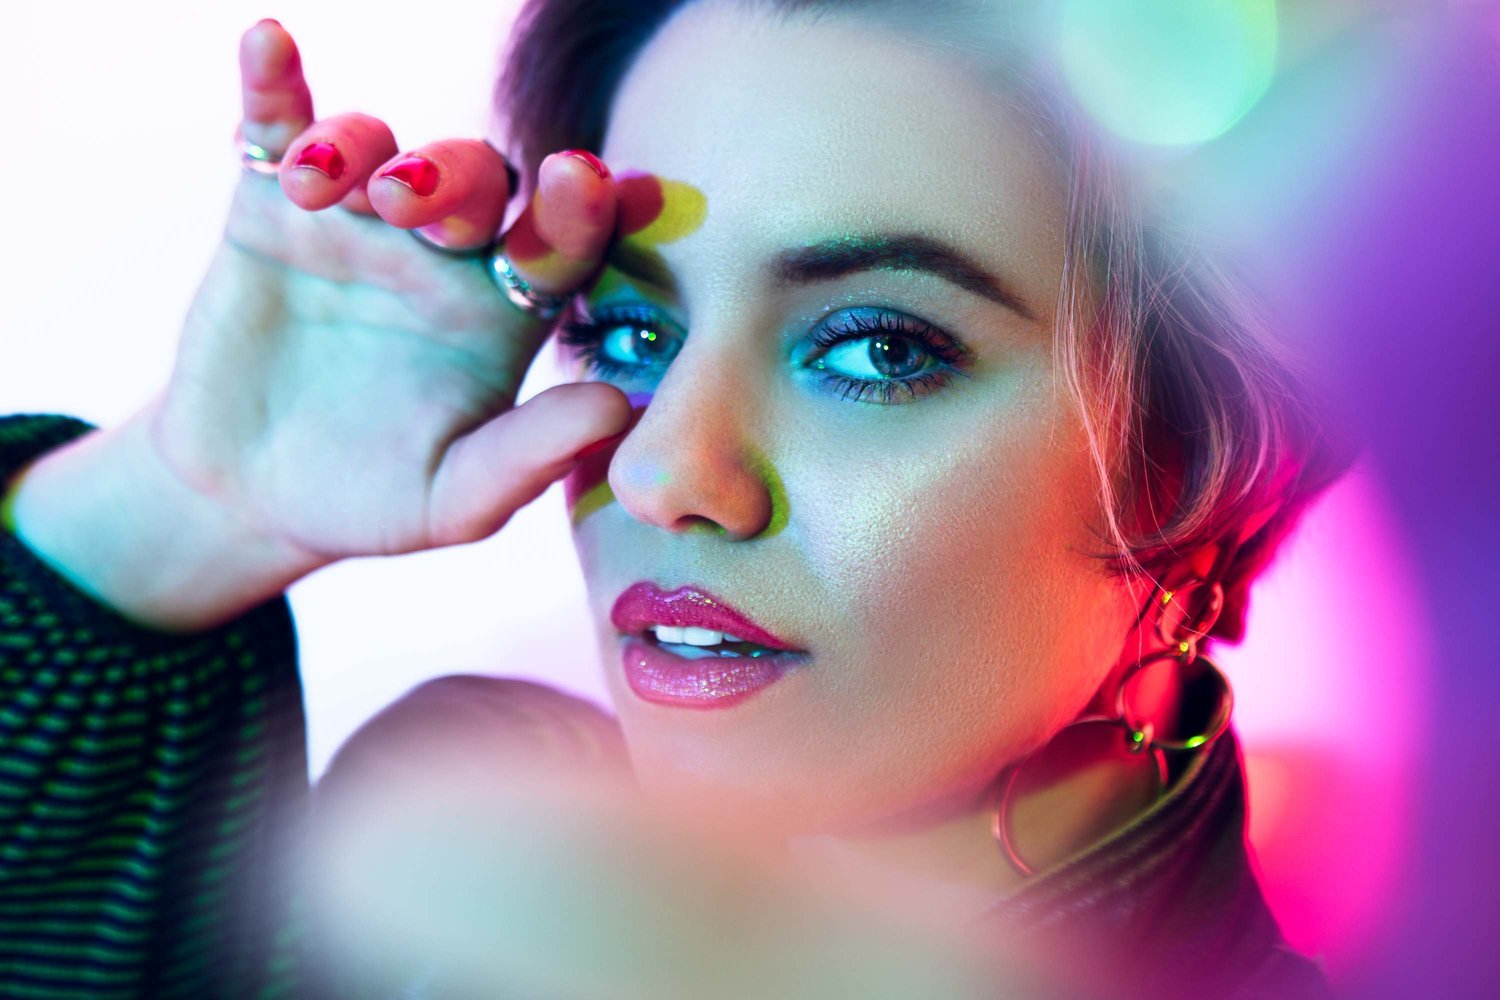
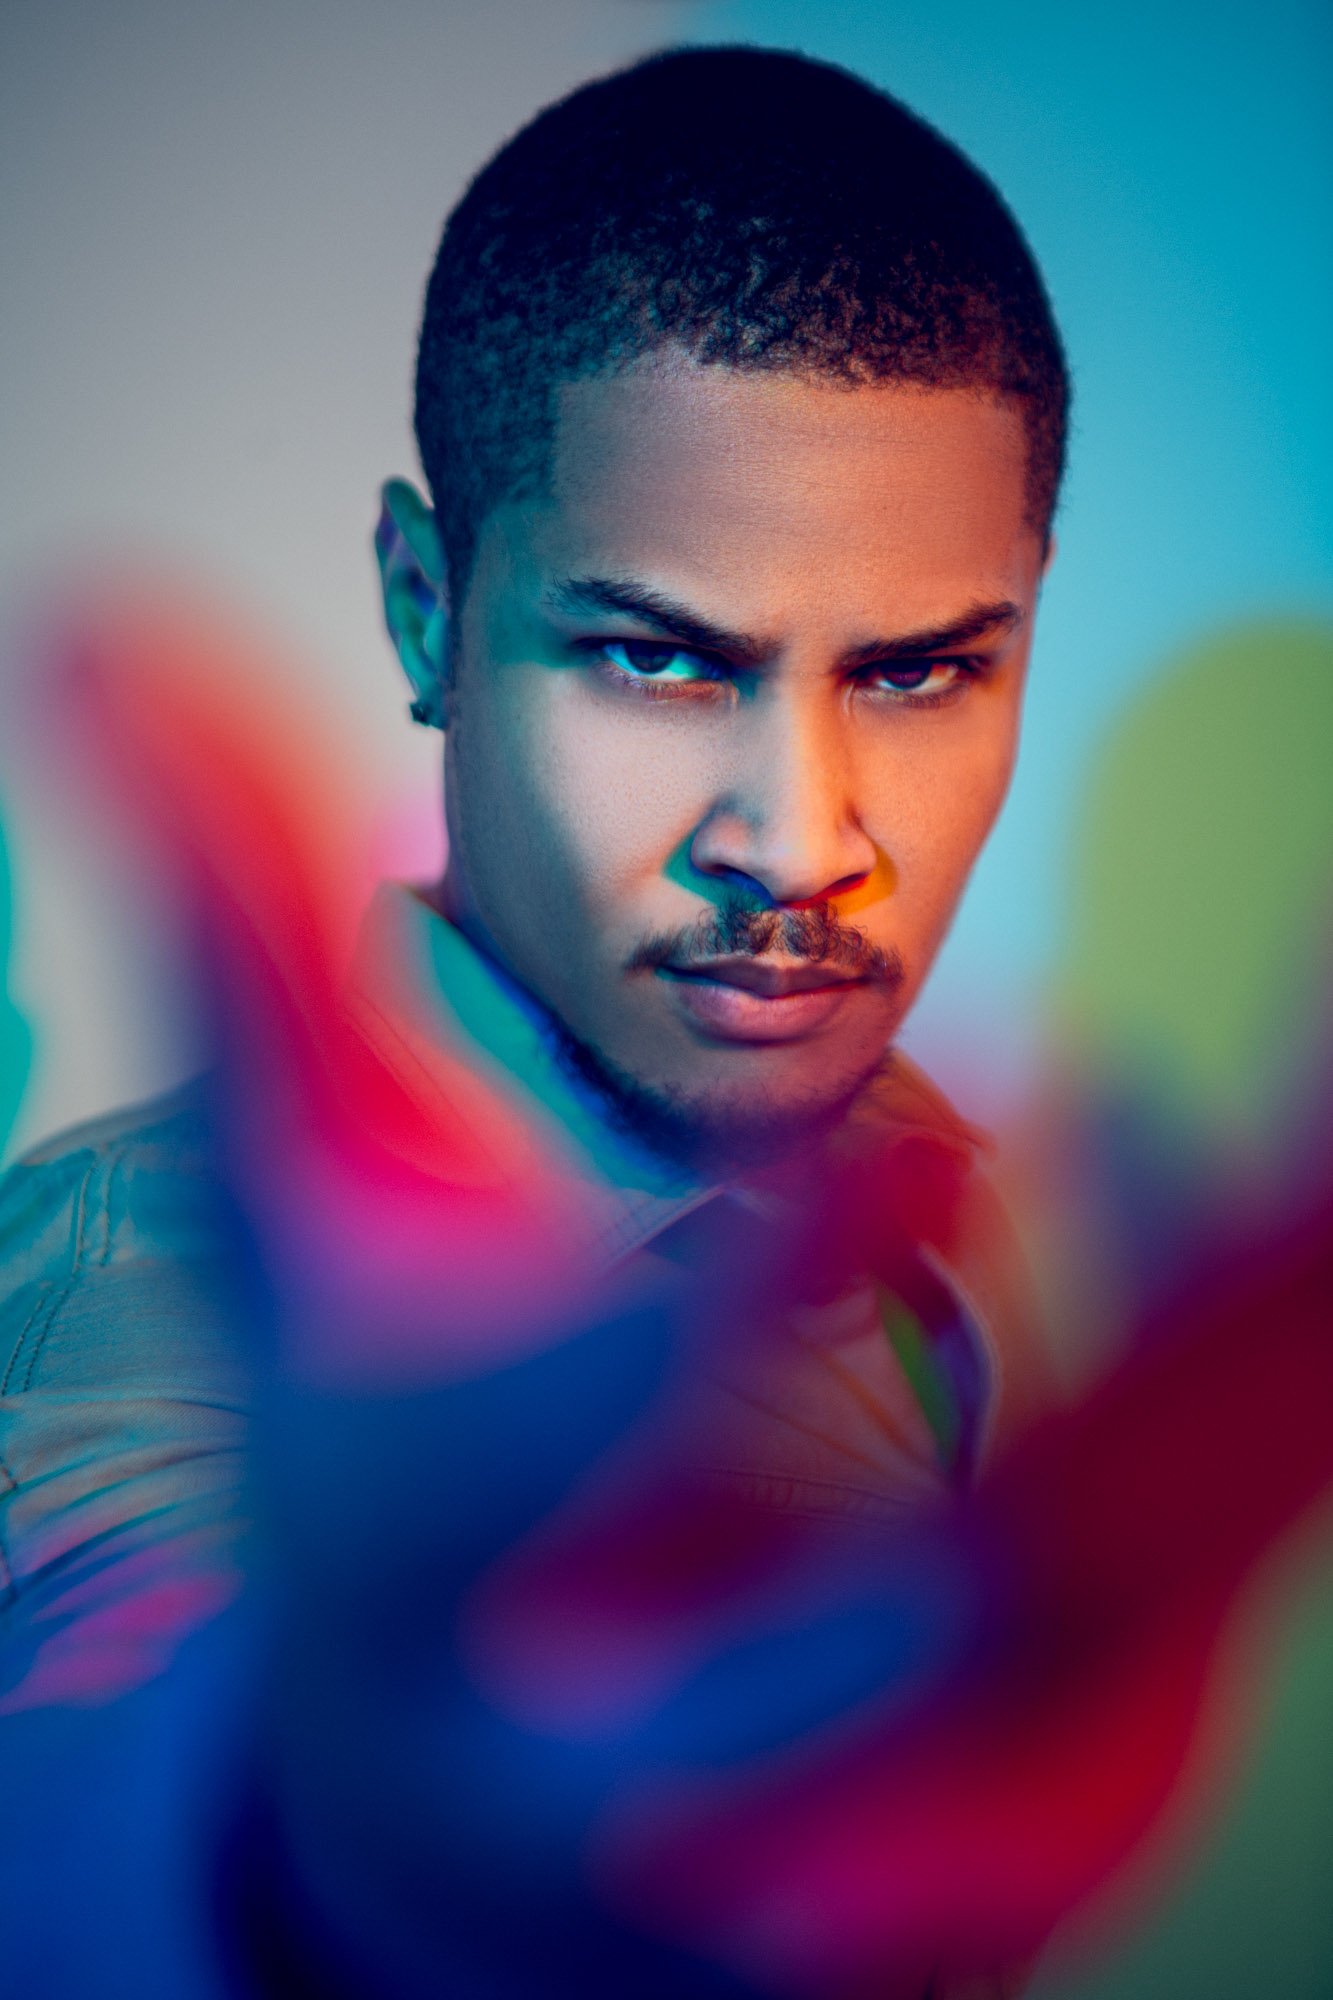
To truly appreciate the beauty and complexity of this novel concept, one must first understand the principle of additive color mixing. This phenomenon occurs when three spotlights, each bearing a primary color - red, blue, and green, intersect in a dark room. The overlapping beams of light merge to form a single, unified beam of white light - a stunning visual that evokes the sensation of a reverse rainbow. I adapted this principle in my project, using this harmonious blend of primary colors to bathe my model in soft, white light.
The Intricacies of Creating Colored Shadows
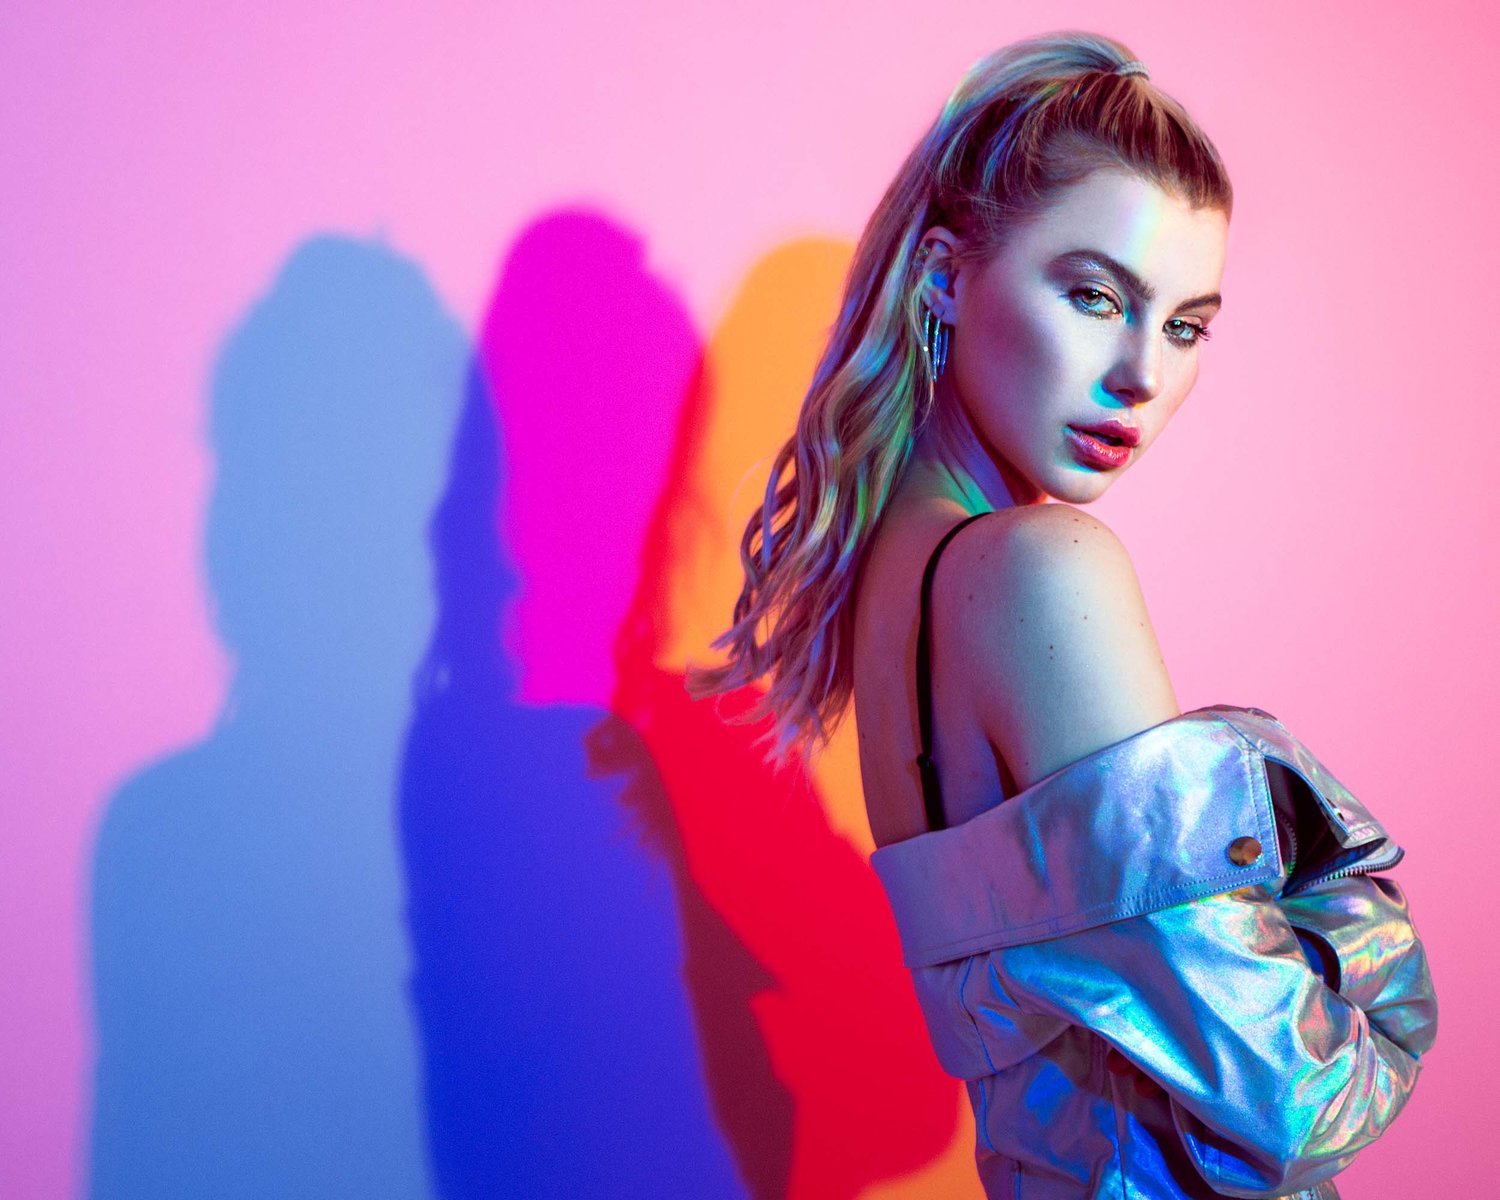
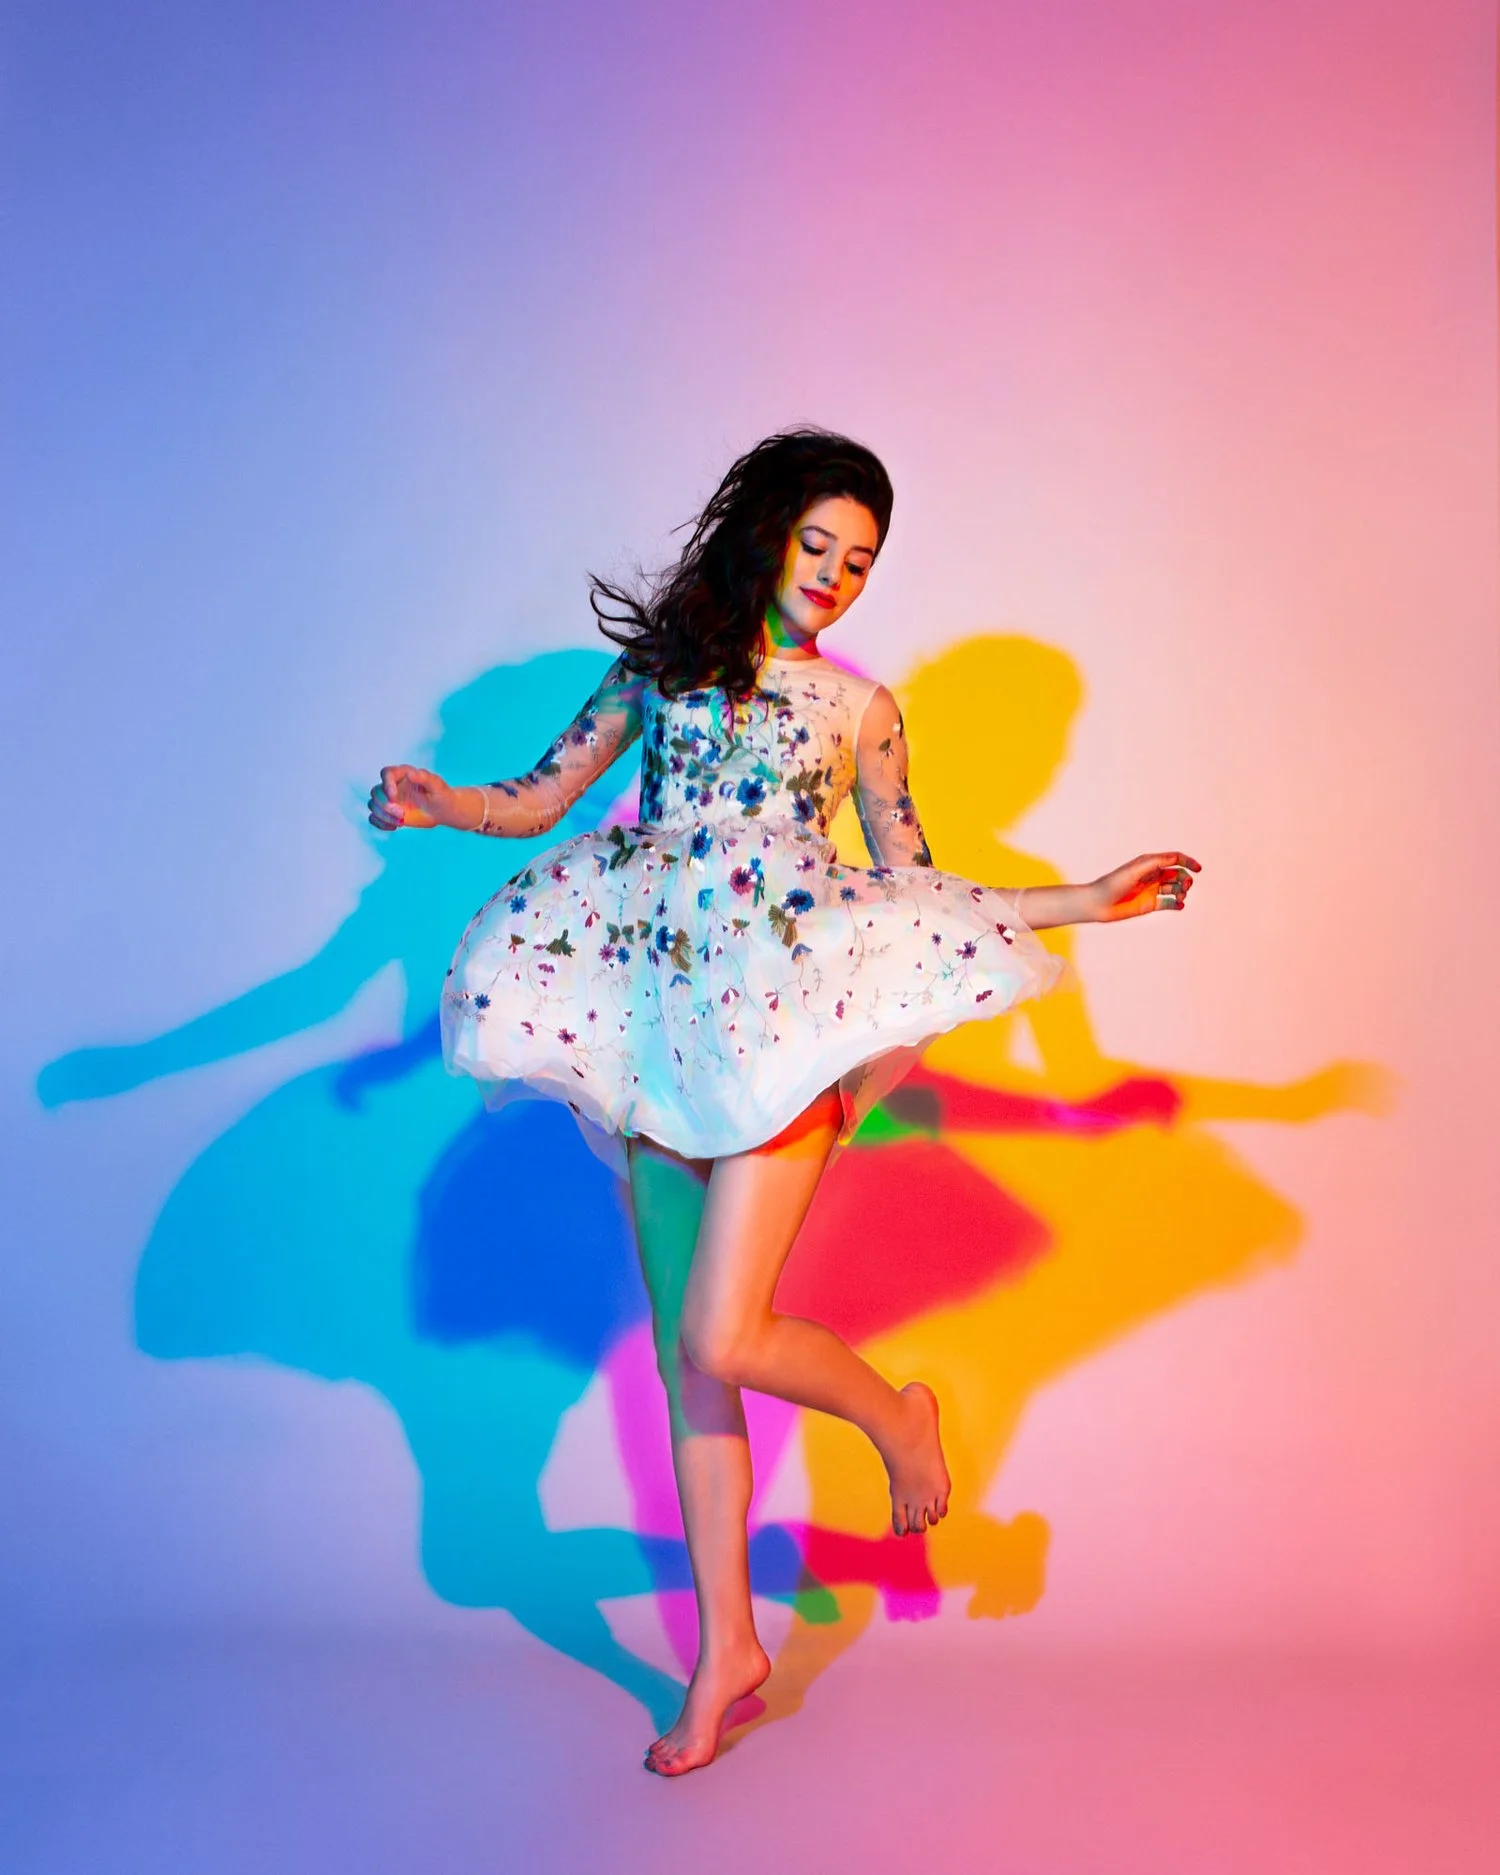
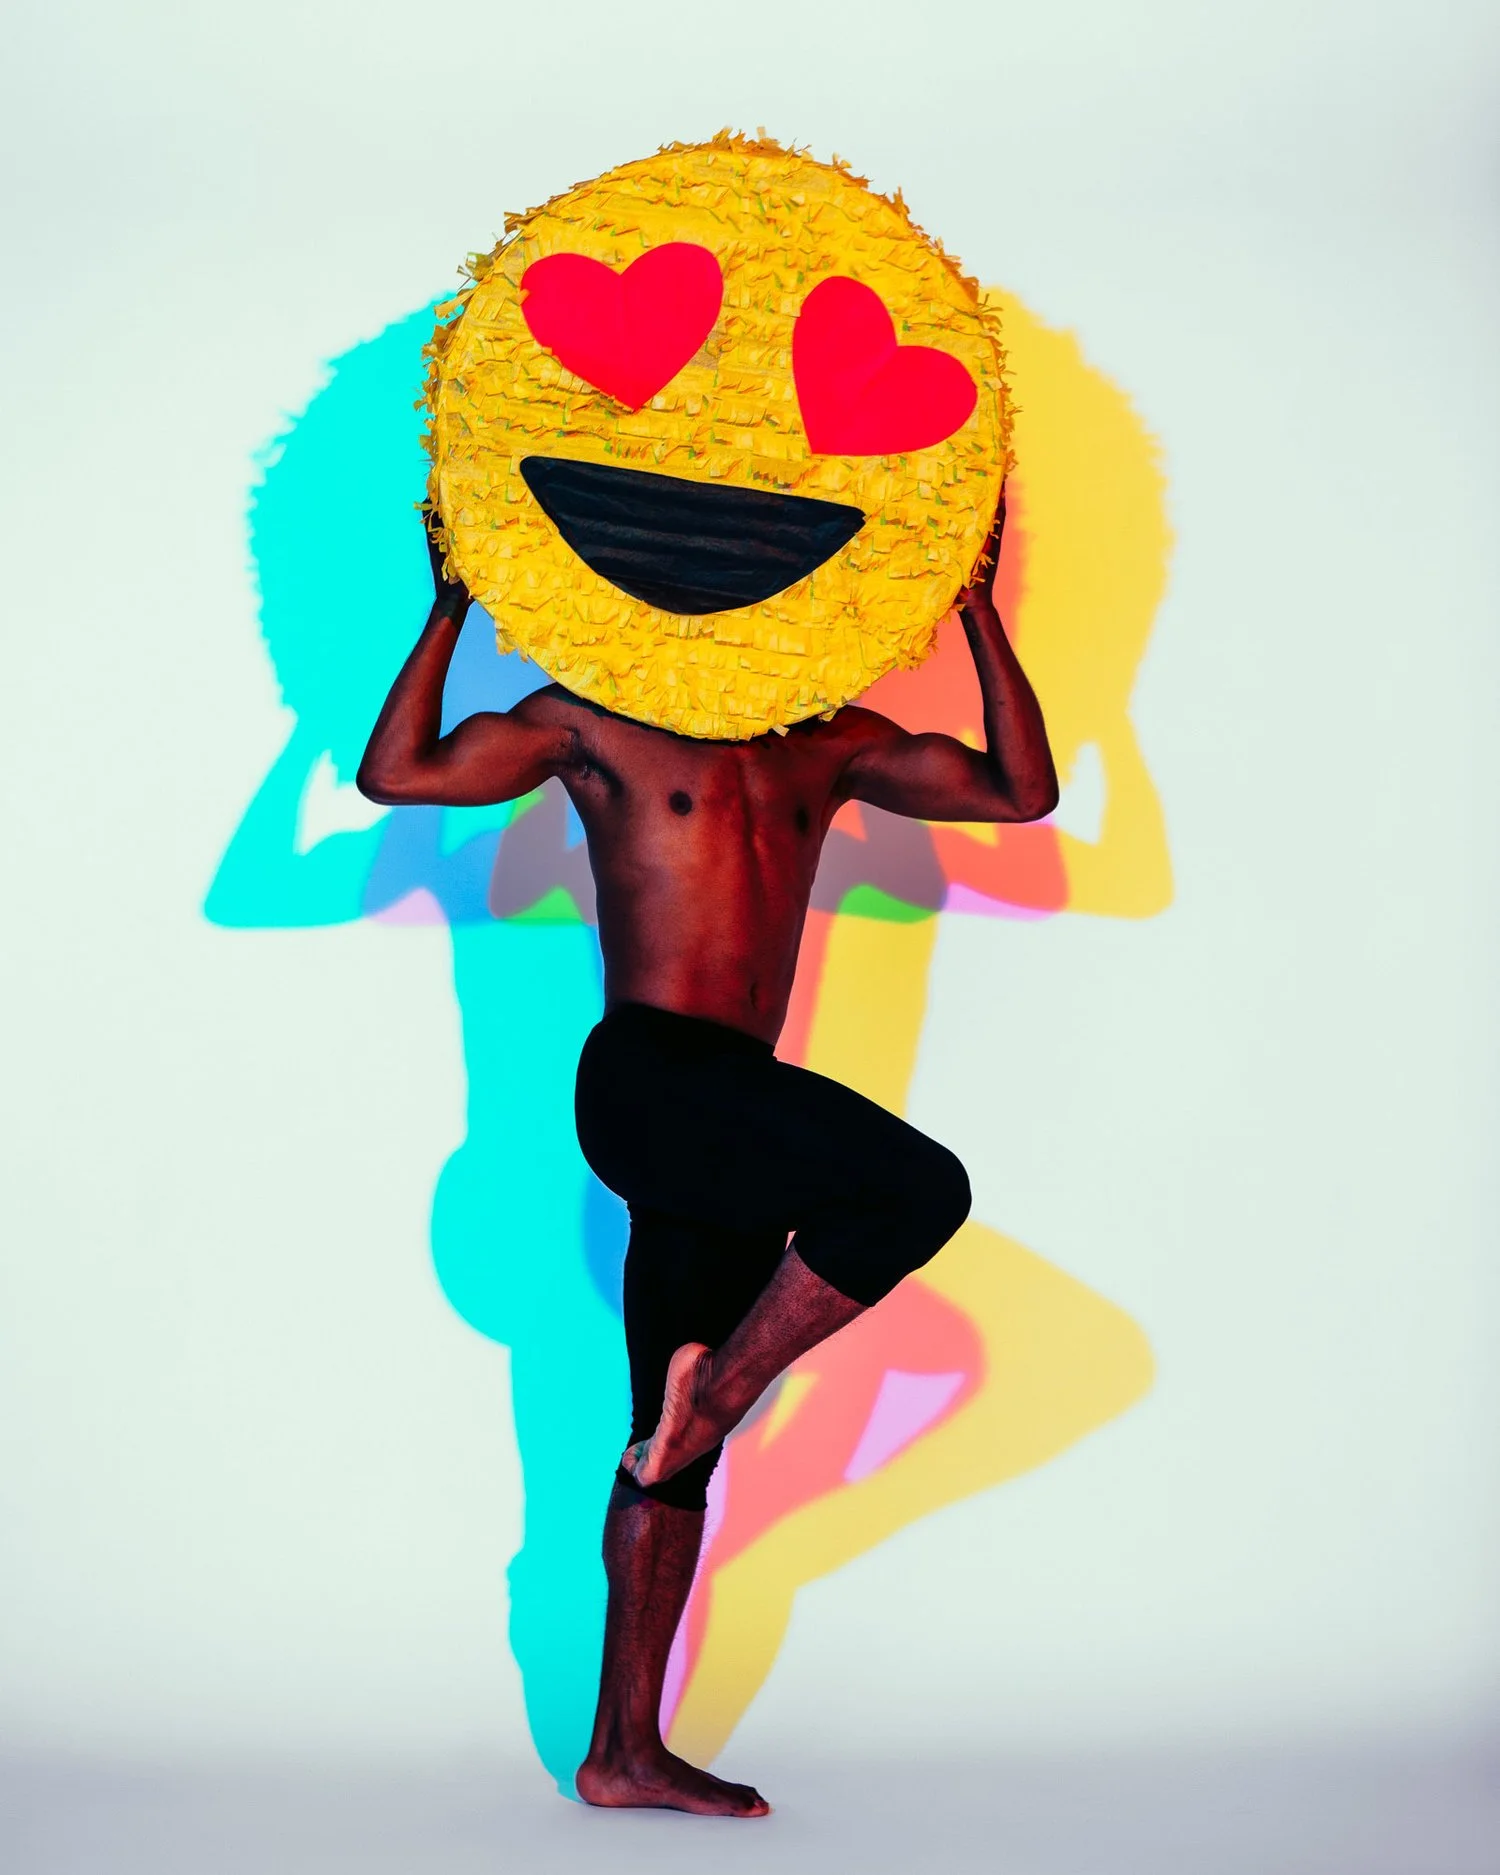
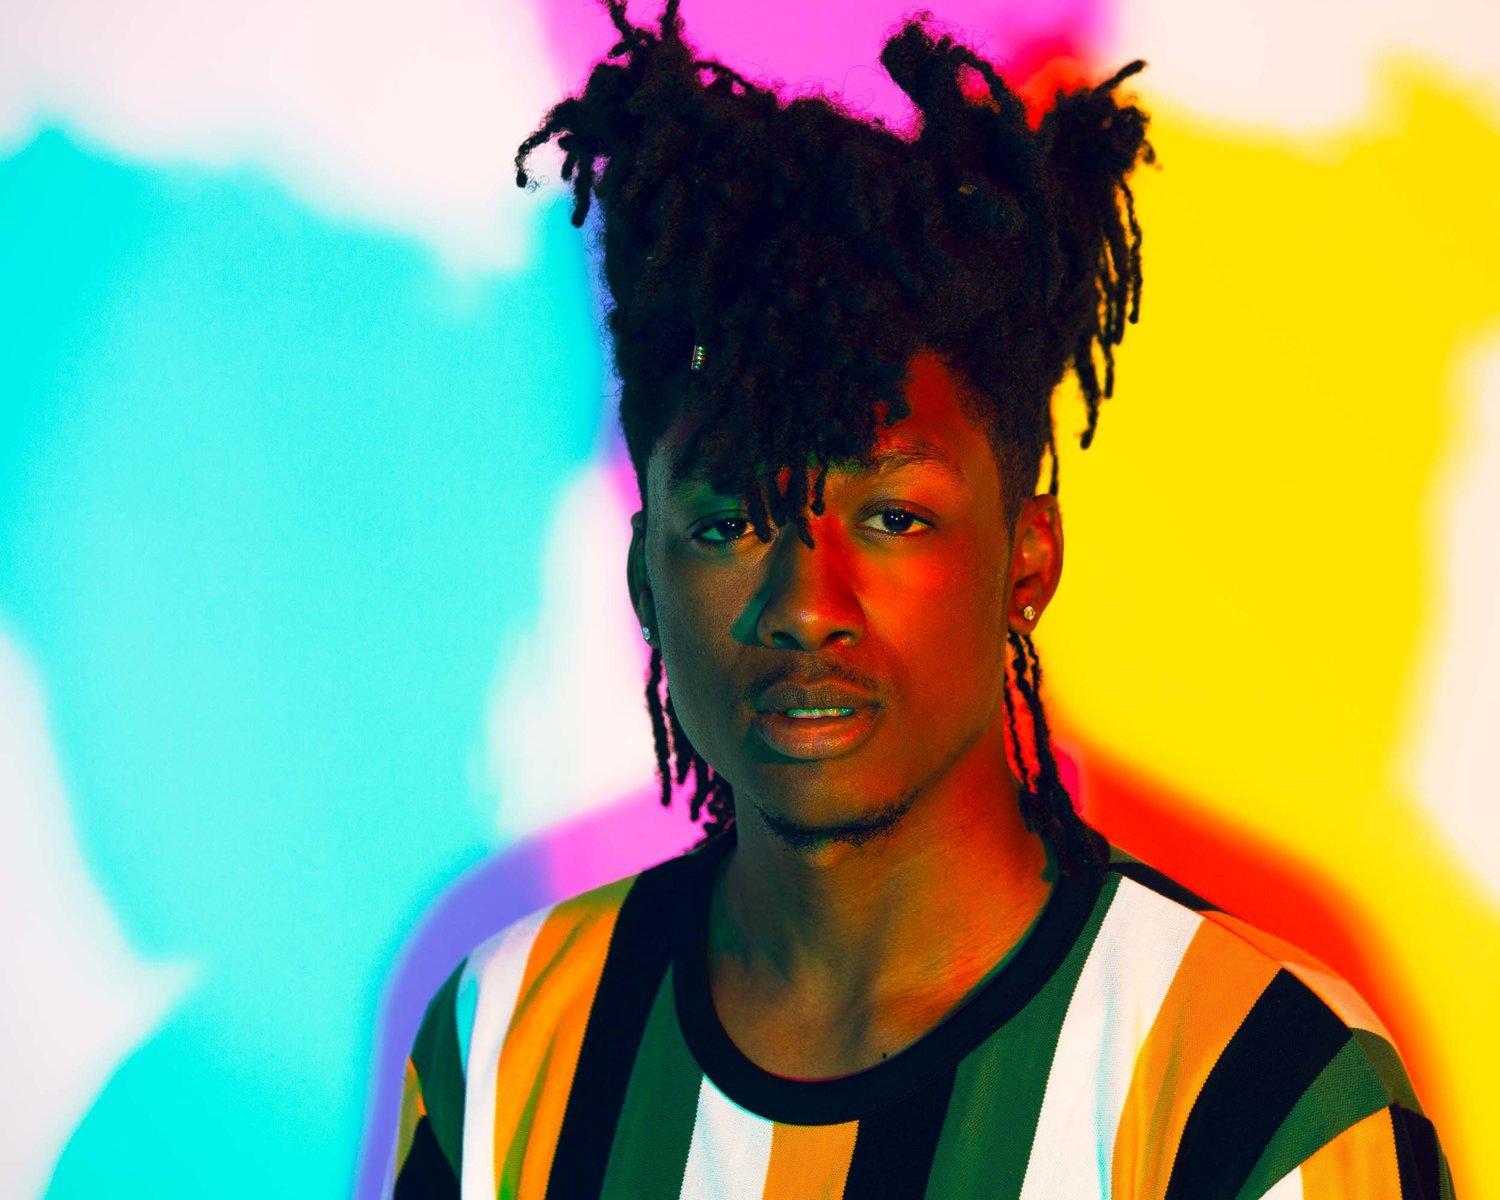
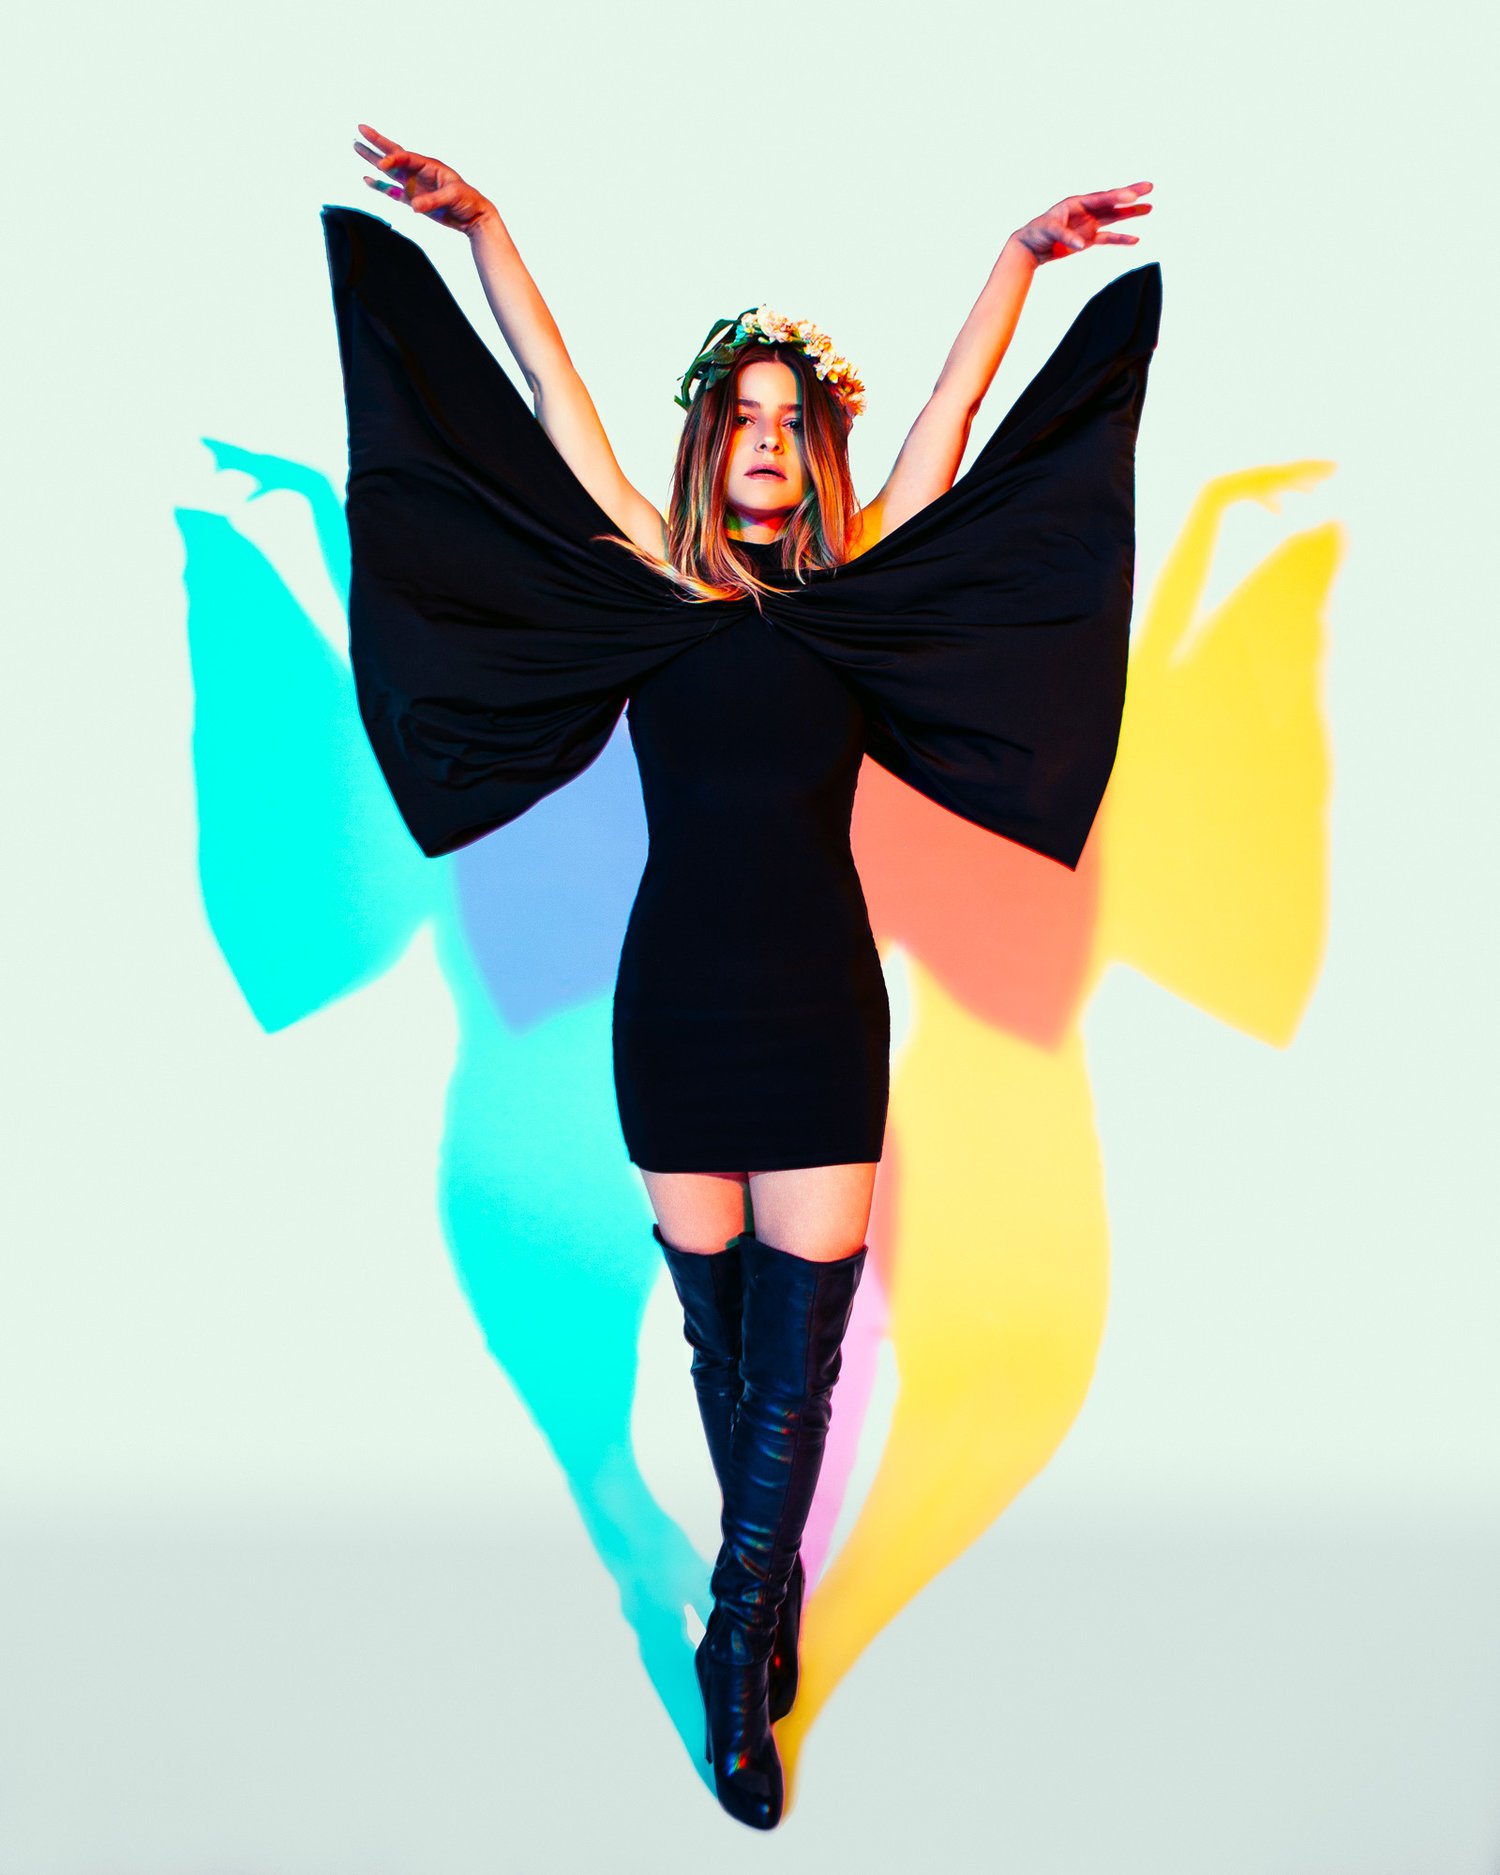
The true magic unfolds in the aftermath of lighting the model with the three primary colors. We are left with an array of colored shadows, each carrying its unique charm. These are the result of the interaction of two of the three lights, for instance, when a blue light casts a shadow, the red and green lights fill it in, giving rise to a yellow shadow. Likewise, we get a cyan shadow from the interaction of blue and green lights and a magenta shadow from the red and blue lights.
Mastering the Order and Placement of Lights
Understanding the science behind the creation of colored shadows is just the first step. The next challenge lies in manipulating the order and placement of the lights to dictate the sequence and appearance of the shadows. My usual configuration places the red light on the right, the green in the middle, and the blue on the left, casting cyan, magenta, and yellow shadows respectively. Of course, there's room for personal creativity here, and I encourage you to play around with different configurations to create a variety of color sequences.
The Balance of Distance and Power in Lighting
The key to achieving the perfect lighting setup lies in meticulous attention to the placement of lights. All lights must be at an equal distance from the subject, with an equal output of power.
I recommend starting with the lights above the camera and close together, which simplifies the process and reduces potential complications. Experimenting with different configurations can yield more dramatic shadows or even different directions of shadow cast. However, be cautious of spreading the lights too far apart, as this could result in color gradients due to light falloff.
The Role of Model Placement in Shadow Manipulation
Finally, we come to the placement of the model, which has a significant impact on the appearance of the shadows. The closer the model is to the background, the sharper the shadows will be. I advise starting with the model as close to the background as possible, then gradually adjusting the distance to achieve the desired spread of shadows.
The Final Picture: A Unique Three-Colored Shadow Setup
And there you have it - the process behind creating a unique three-colored shadow setup. I hope this has ignited a spark of inspiration in you. If you have any questions or want to explore more of my work, do visit my website at www.dohenyphoto.com or follow me on Instagram at @dohenyphoto.
I’m Matt Doheny, and I’m looking forward to seeing the wonderful images you create with this setup.
**FAQ - Harnessing the Power of Three-Colored Shadows in Photography**
**Q: What is the concept of three-colored shadows in photography?**
A: Three-colored shadows in photography are created by intersecting spotlights of primary colors (red, blue, and green) in a dark room. The overlapping beams of light form a single, unified beam of white light, resulting in colored shadows. The interaction between two of the three lights produces shadows with different colors, such as yellow, cyan, and magenta.
**Q: How does additive color mixing play a role in creating three-colored shadows?**
A: Additive color mixing occurs when the primary color spotlights intersect, resulting in the formation of white light. This principle is adapted to the three-colored shadow setup, where the combination of red, blue, and green lights creates a harmonious blend of primary colors that bathe the subject in soft, white light while producing colored shadows.
**Q: What is the significance of the order and placement of lights in the three-colored shadow setup?**
A: The order and placement of lights dictate the sequence and appearance of the colored shadows. A typical configuration places the red light on the right, green light in the middle, and blue light on the left, resulting in cyan, magenta, and yellow shadows, respectively. Experimenting with different configurations can yield different color sequences and shadow effects.
**Q: What factors should be considered for achieving the perfect lighting setup?**
A: Meticulous attention should be paid to the balance of distance and power in lighting. All lights should be at an equal distance from the subject and have an equal output of power. Starting with lights above the camera and close together simplifies the process, but different configurations can be explored for more dramatic shadows. Care should be taken to avoid spreading the lights too far apart, as it may result in color gradients due to light falloff.
**Q: How does the placement of the model impact the appearance of the shadows?**
A: The placement of the model affects the appearance of the shadows. The closer the model is to the background, the sharper the shadows will be. Starting with the model close to the background and adjusting the distance gradually allows for controlling the spread of shadows and achieving the desired effect.
**Q: Where can I find more information and examples of the three-colored shadow setup by Matt Doheny?**
A: For more information and to explore Matt Doheny's work, you can visit his website at www.dohenyphoto.com or follow him on Instagram at @dohenyphoto. His website and social media accounts will provide further insights and examples of the unique three-colored shadow setup and his photography.

